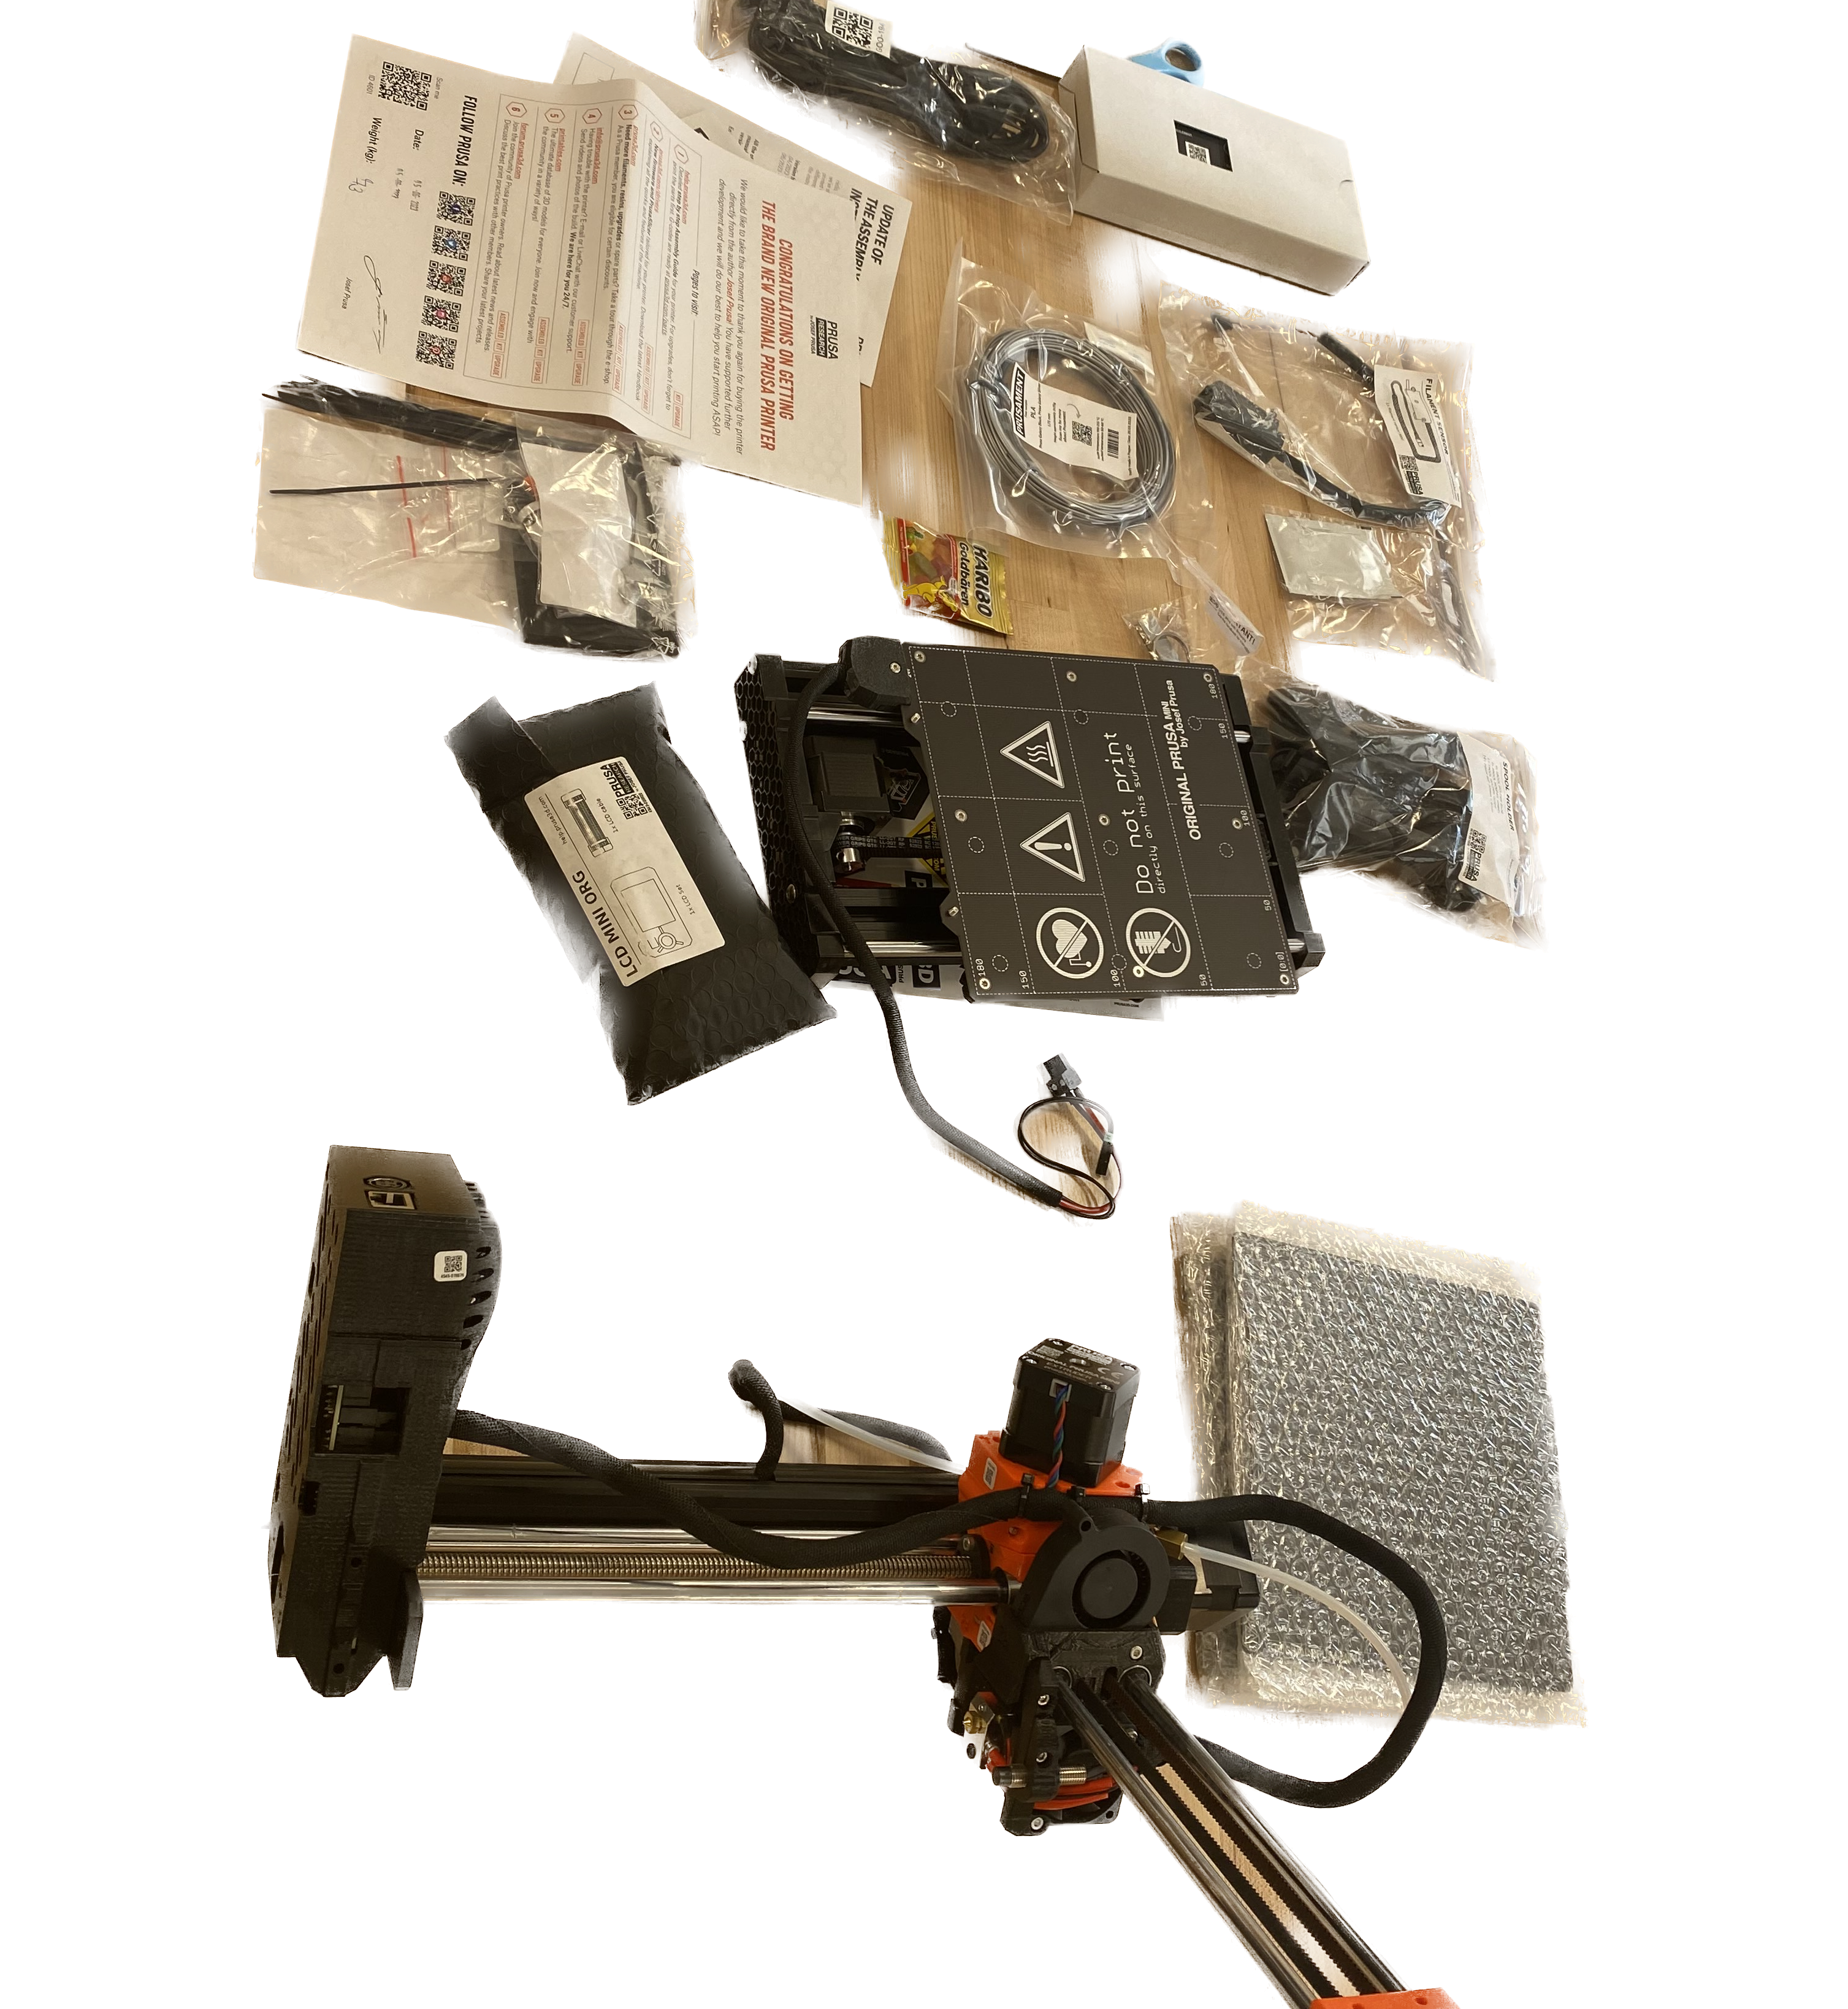
Mark Zhang

Engineering Documentation

3D Printer Assembly & Benchy

September 21th, Thursday, 2023

Today, I have the chance to assemble my very first 3D printer with the assistance of Prof. Rogers in Brandeis Abelson 401.

Interactive index

Mien en place Electronics Joining Axes Reflection Troubleshooting Calibration

Mise en place

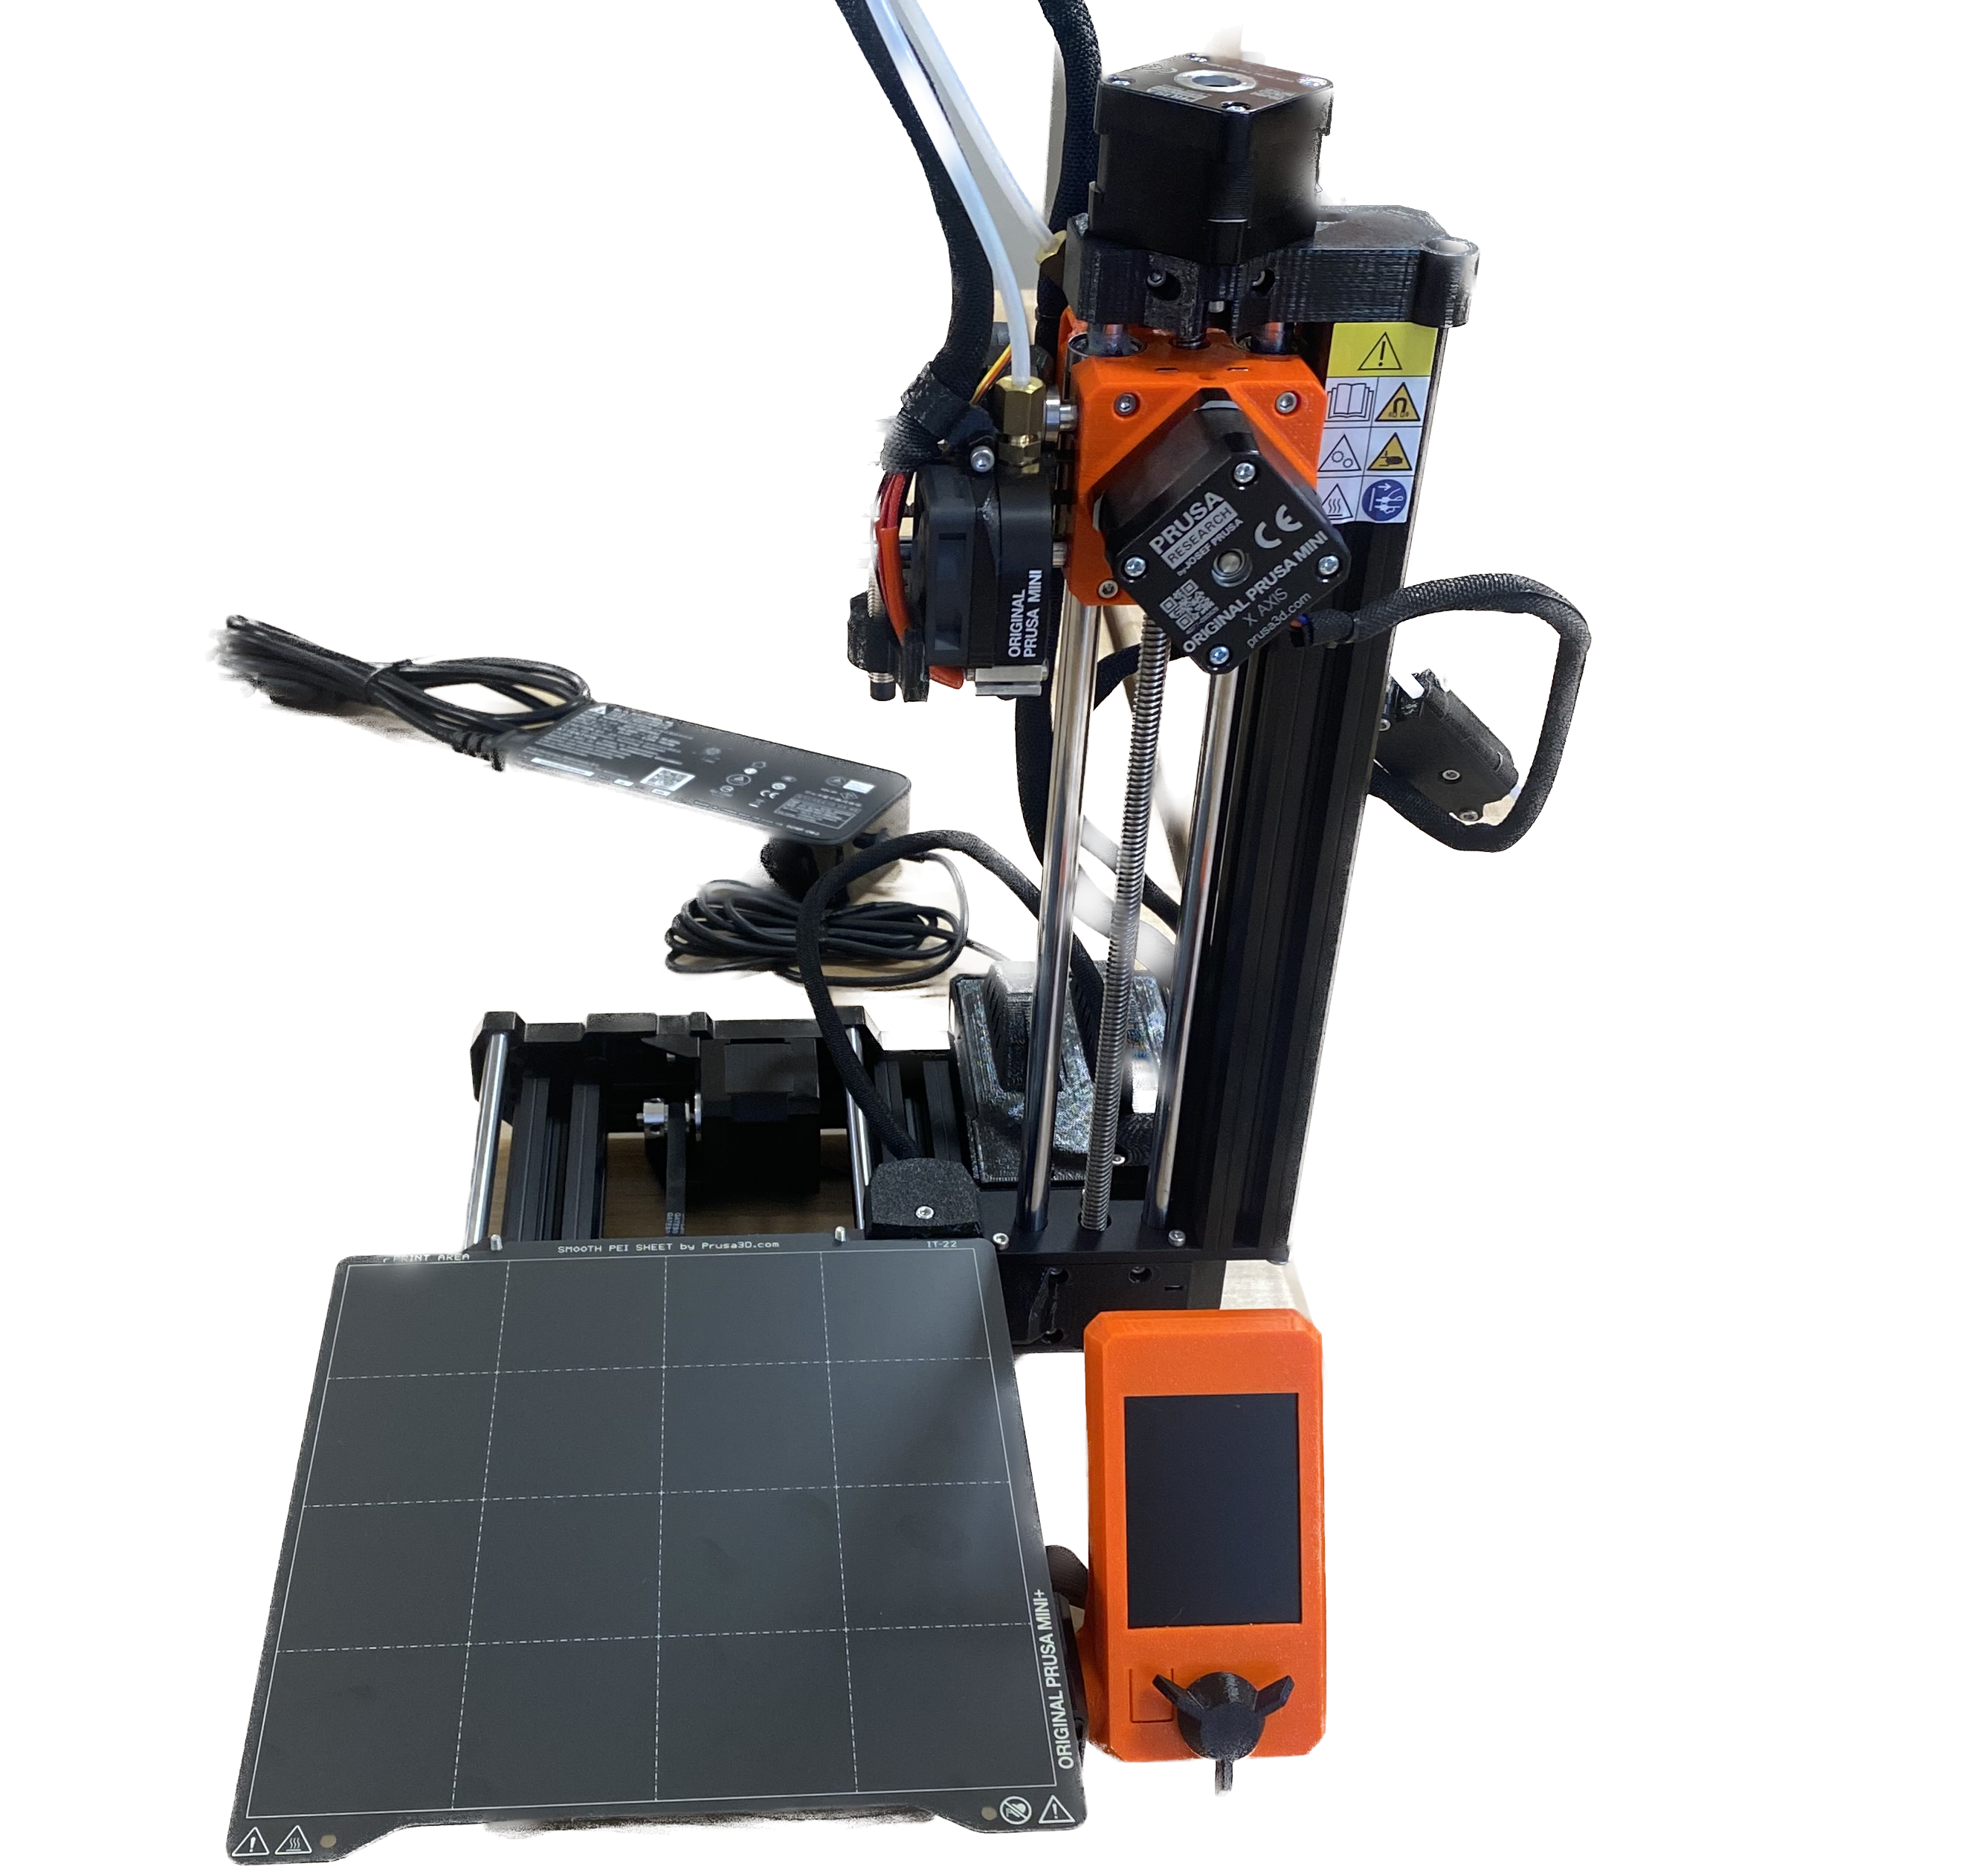
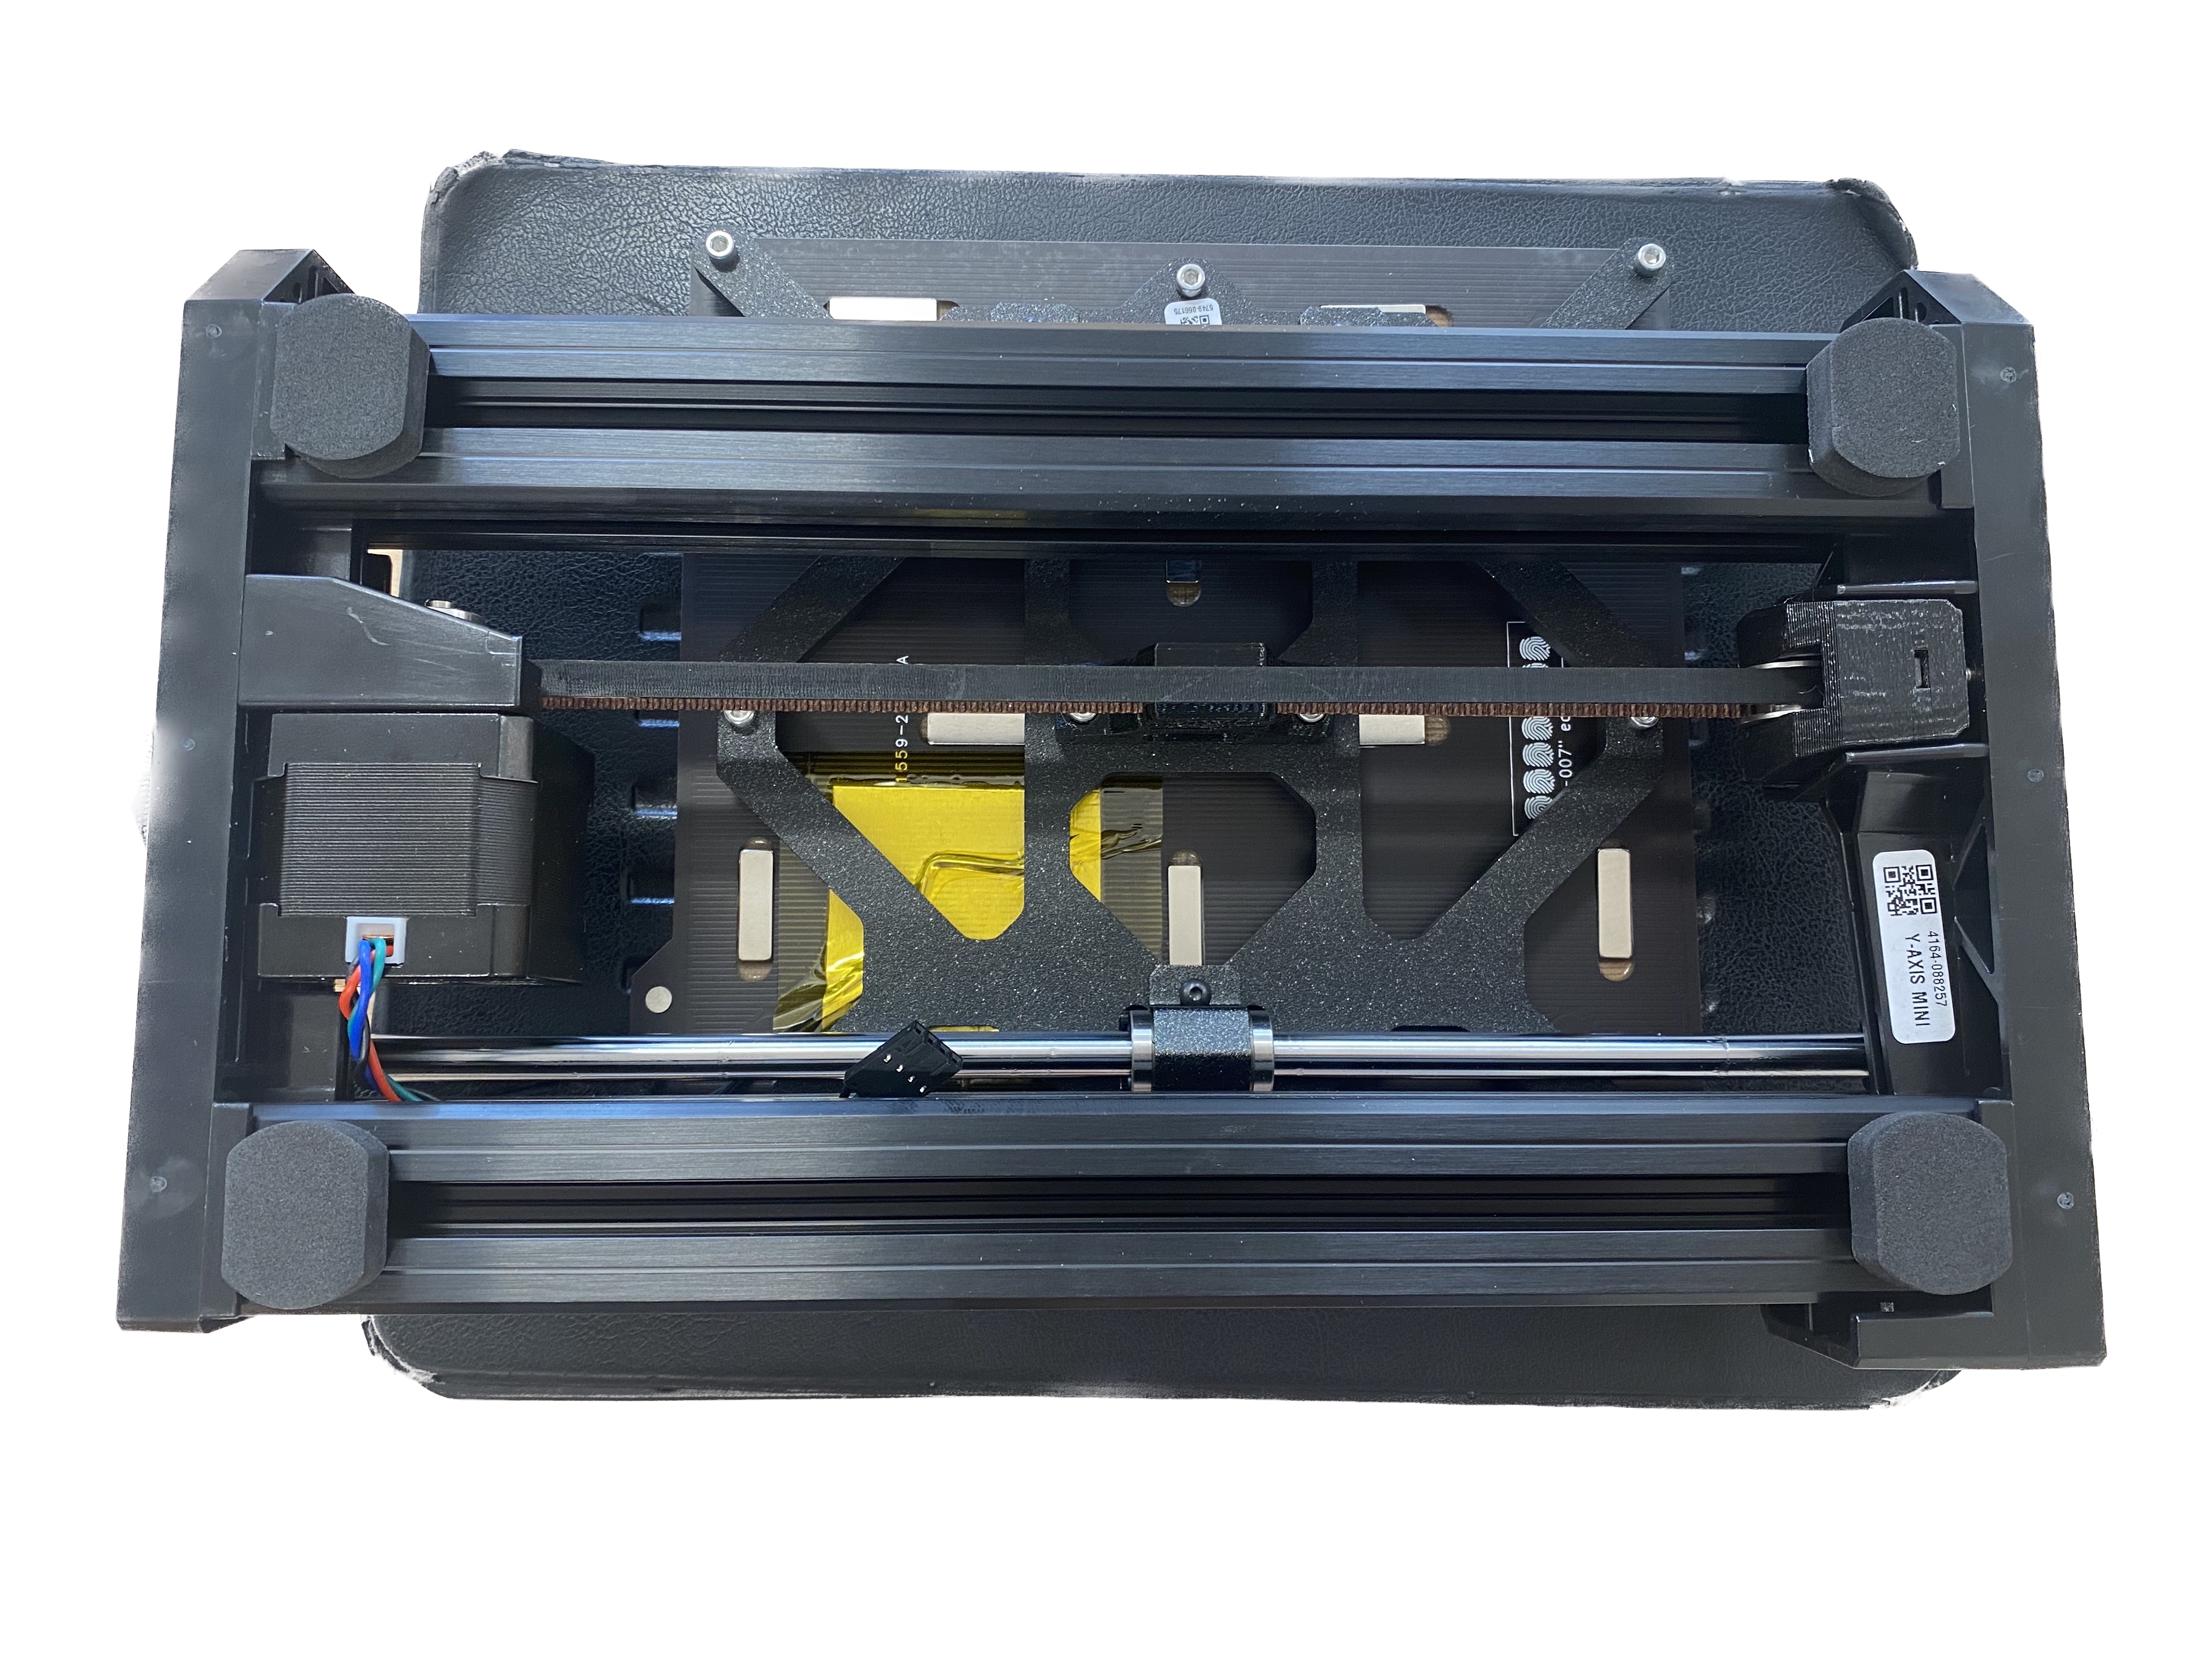
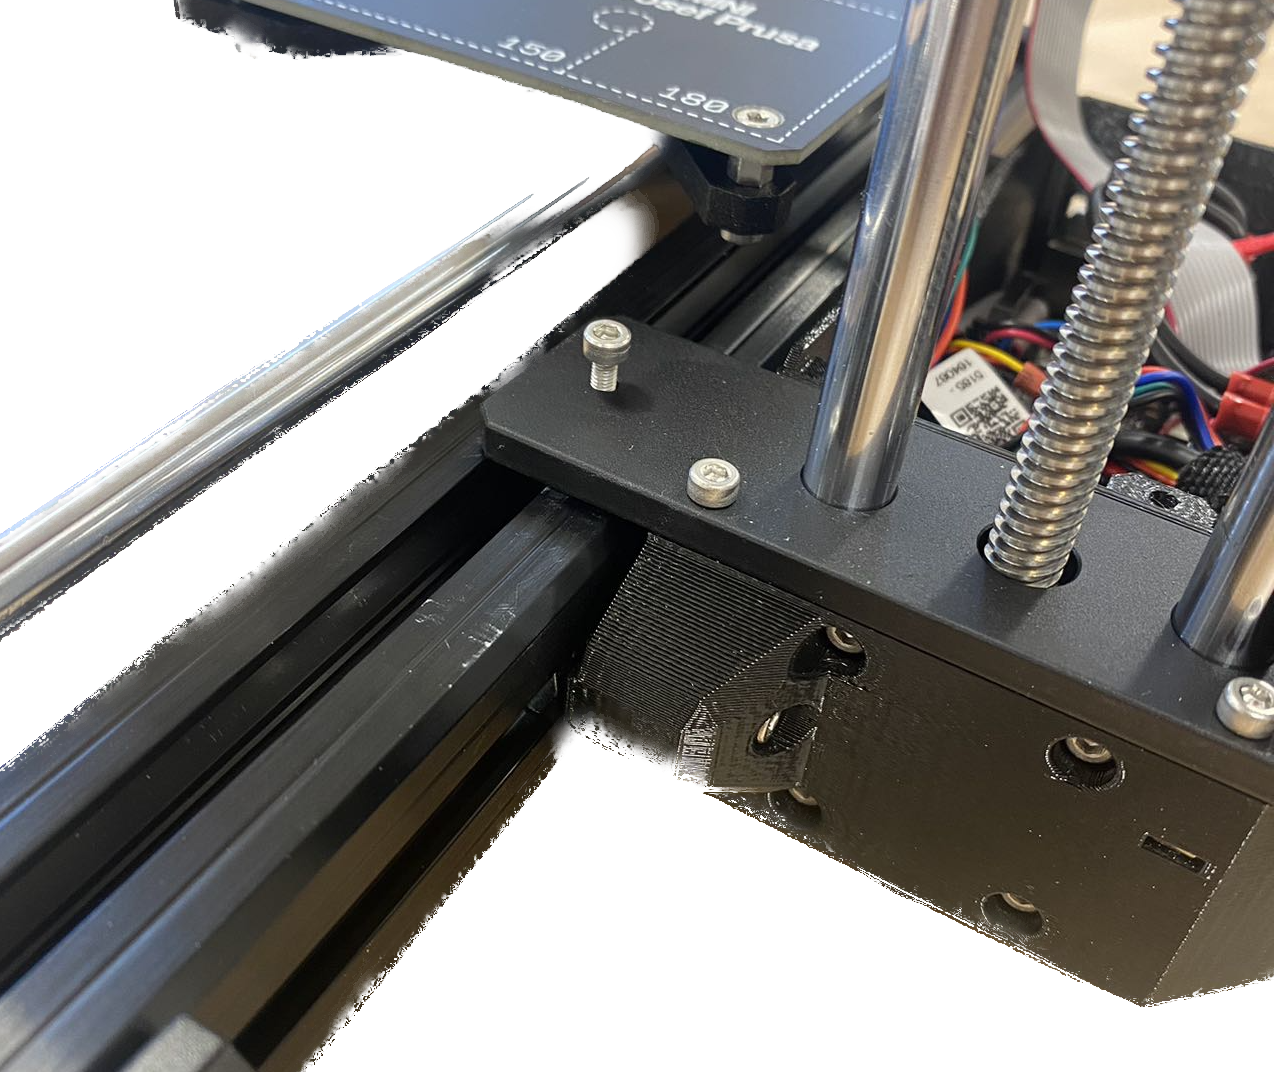
The first thing to do after unboxing is to sort all the components and set everything up. My model is the Prusa Mini, which consists of the Y-axis and XZ-axis. The heatbed is on the Y-axis, and the extruder is on the XZ-axis. The basic idea of such a 3D printer is to print things layer by layer through the collaboration of these axes.

Electronics

The assembly manual guides me through the electronics assembly. The manual provides clear instructions for this part, so I haven't encountered any significant problems up to this point. The LCD cable (the wide cable) is used to connect the LCD screen and the buddy board. It's thin and fragile, so I wrap it around the electronics box and fold it into the bottom groove to ensure it won't scrape against the table. Last step is to insert extruder wire, incorporate the filament sensor, and seal the electronics box lid.

Joining Axes

This part is arguably the most challenging of the entire assembly process. There are a total of three screws (I will provide detailed information about this in the troubleshooting section). Once I've tightened these screws between the two axes, the structure becomes stable. The additional step involves assembling the filament spool holder. Lastly, plug in the power supply. Now, the Prusa Mini is ready for calibration!

ps: Candy time is the only step I didn't follow the manual instruction sequence

Reflection

The manual provides comprehensive instructions for beginners to follow. The majority of the steps are clear and well-organized. For instance, it provides a 1:1 scale cheatsheet of all the screws for our convenience. However, there are some flaws that I'd like to point out. Firstly, the instructions regarding the sticky pads are not clear. The manual doesn't provide a zoomed-in picture showing the exact placement of the pads. I had to look up other assembled printers to see where they positioned the pads. I've learned that when I feel overwhelmed due to unclear instructions, a helpful approach is to refer to other completed works as a good reference. Secondly, the instructions for joining two axes are not practical. The manual states that the longest bolt should be screwed in first. However, in reality, this poses a challenge because the nut tends to slide along the track, and my visibility is obstructed, making it difficult to determine whether the screw is securely fastened. In practice, it is more effective to initially screw in the two bolts that are within my line of sight to stabilize the structure, and then proceed with the longest bolt.

Troubleshooting

During the coding process I've encountered the following problem: 1. Initially, I tried to move a piece of text to the top-right corner slightly. However, I didn't add the 'position: relative/fix' property. Therefore, there was no effect on the position. After some online searching, I figured this out. 2. Initially, I added images without the './' prefix, which specifies the folder in which the computer should look for the image. Then I realized my mistake after rewatching the LinkedIn Learning videos. 3. Still regarding the images. I messed up the suffix of the images because I used different file transferer so they ended up with different suffix.

Calibration

The first calibration asks me to ensure that the filament lands on the heatbed appropriately. My printer's parameter is adjusted to -1.54, and it functions perfectly well. My first print, a small pink Benchy, is relatively successful. All the dimensions have a small, acceptable margin of error. However, the first-layer performance is not perfect. The arrangement of the filament is a bit loose, causing imperfect merging. This is most likely because the nozzle is still too far from the heatbed. To adjust this, you should increase the value of the parameter.

Copyright © Mark Zhang 2023